After you accessed the admin area of your website click on Products/Catalogue, Import/Export and Automatic import tabs. This function is used for the regular feed import, for example, the inventory feed is placed in the directory and it is imported.
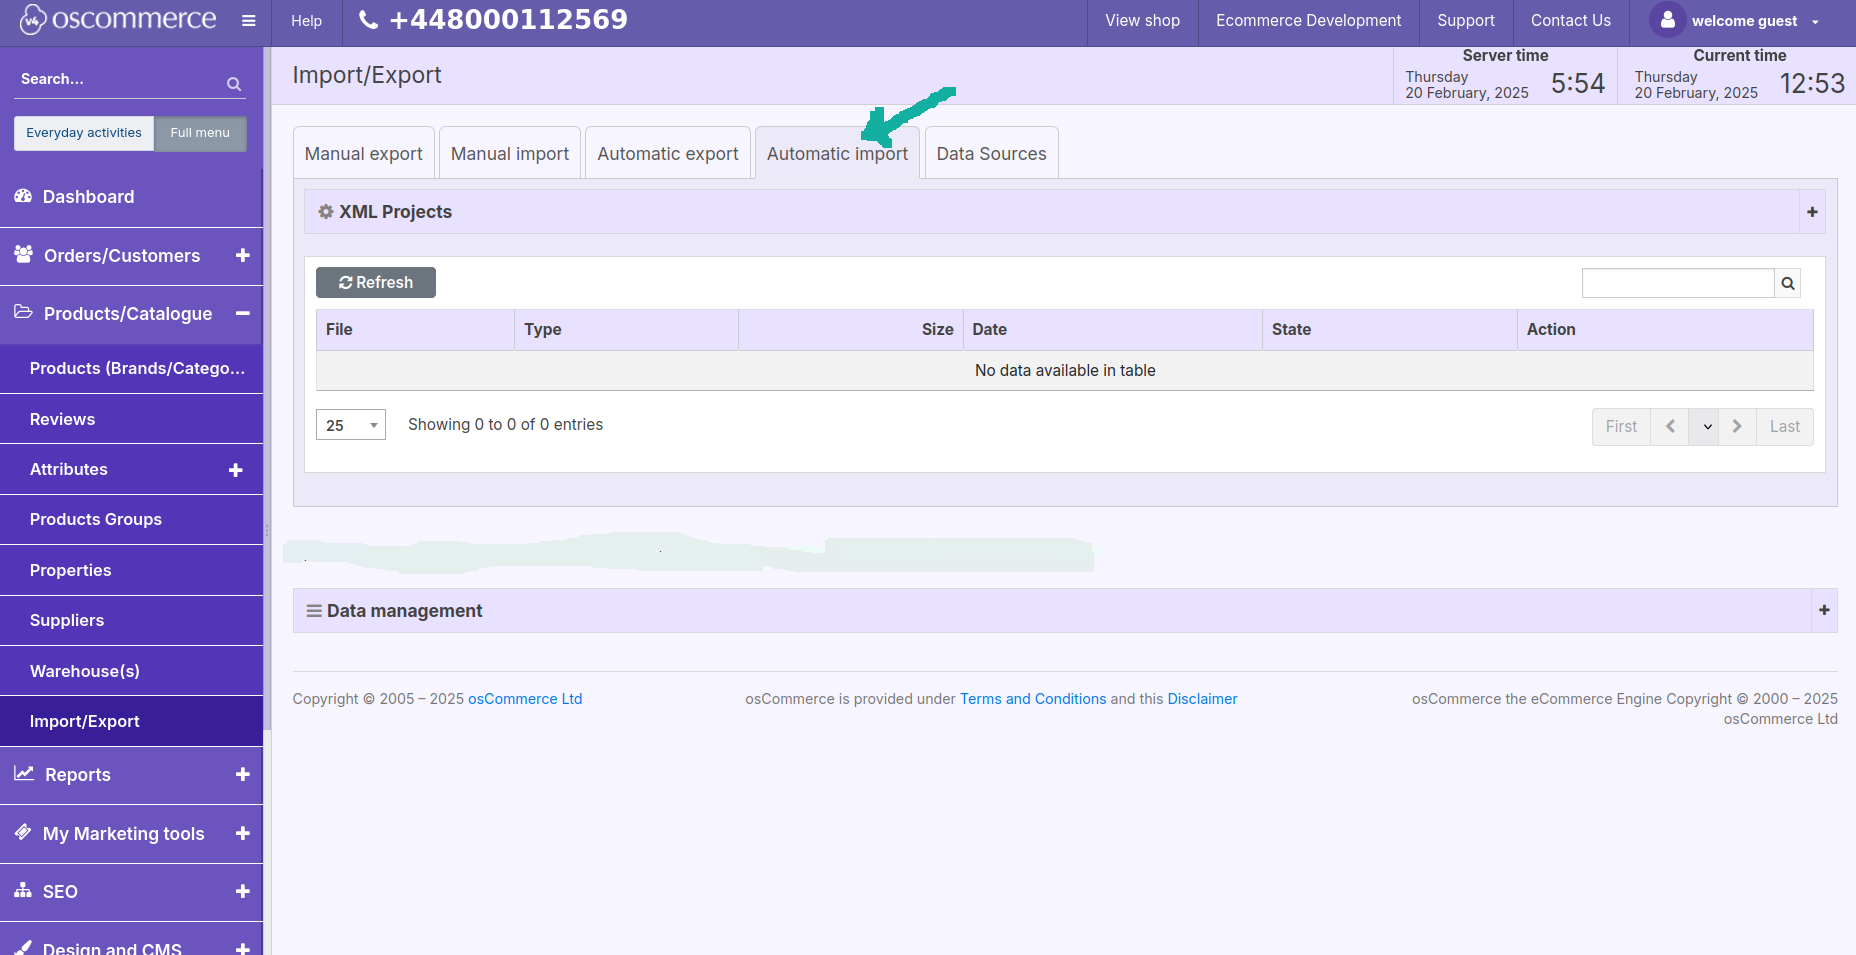
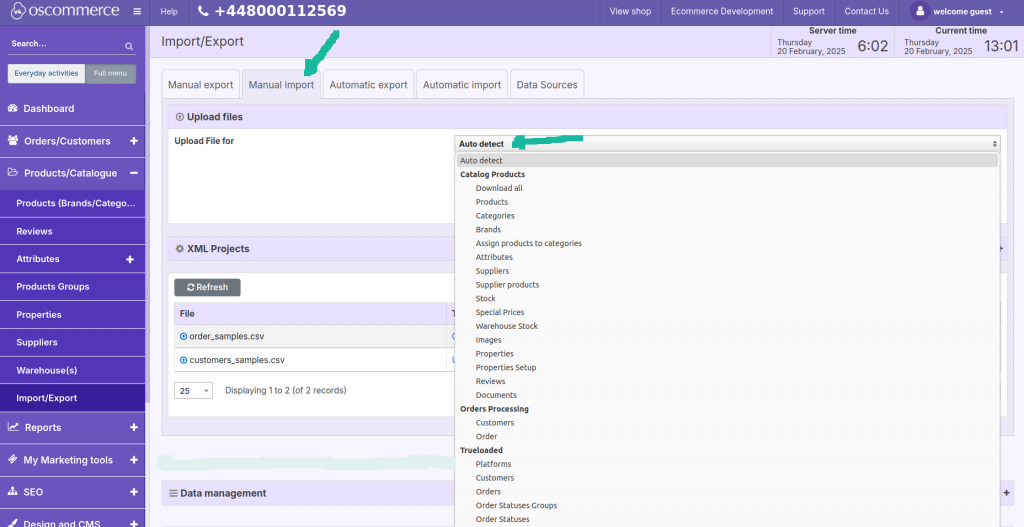
It works in the same way as the manual import, the system uses the same types of files as per the drop down options, but the automatic import is just done automatically, according to the certain time intervals (for the first time you need to configure the feed type, columns and the time intervals).
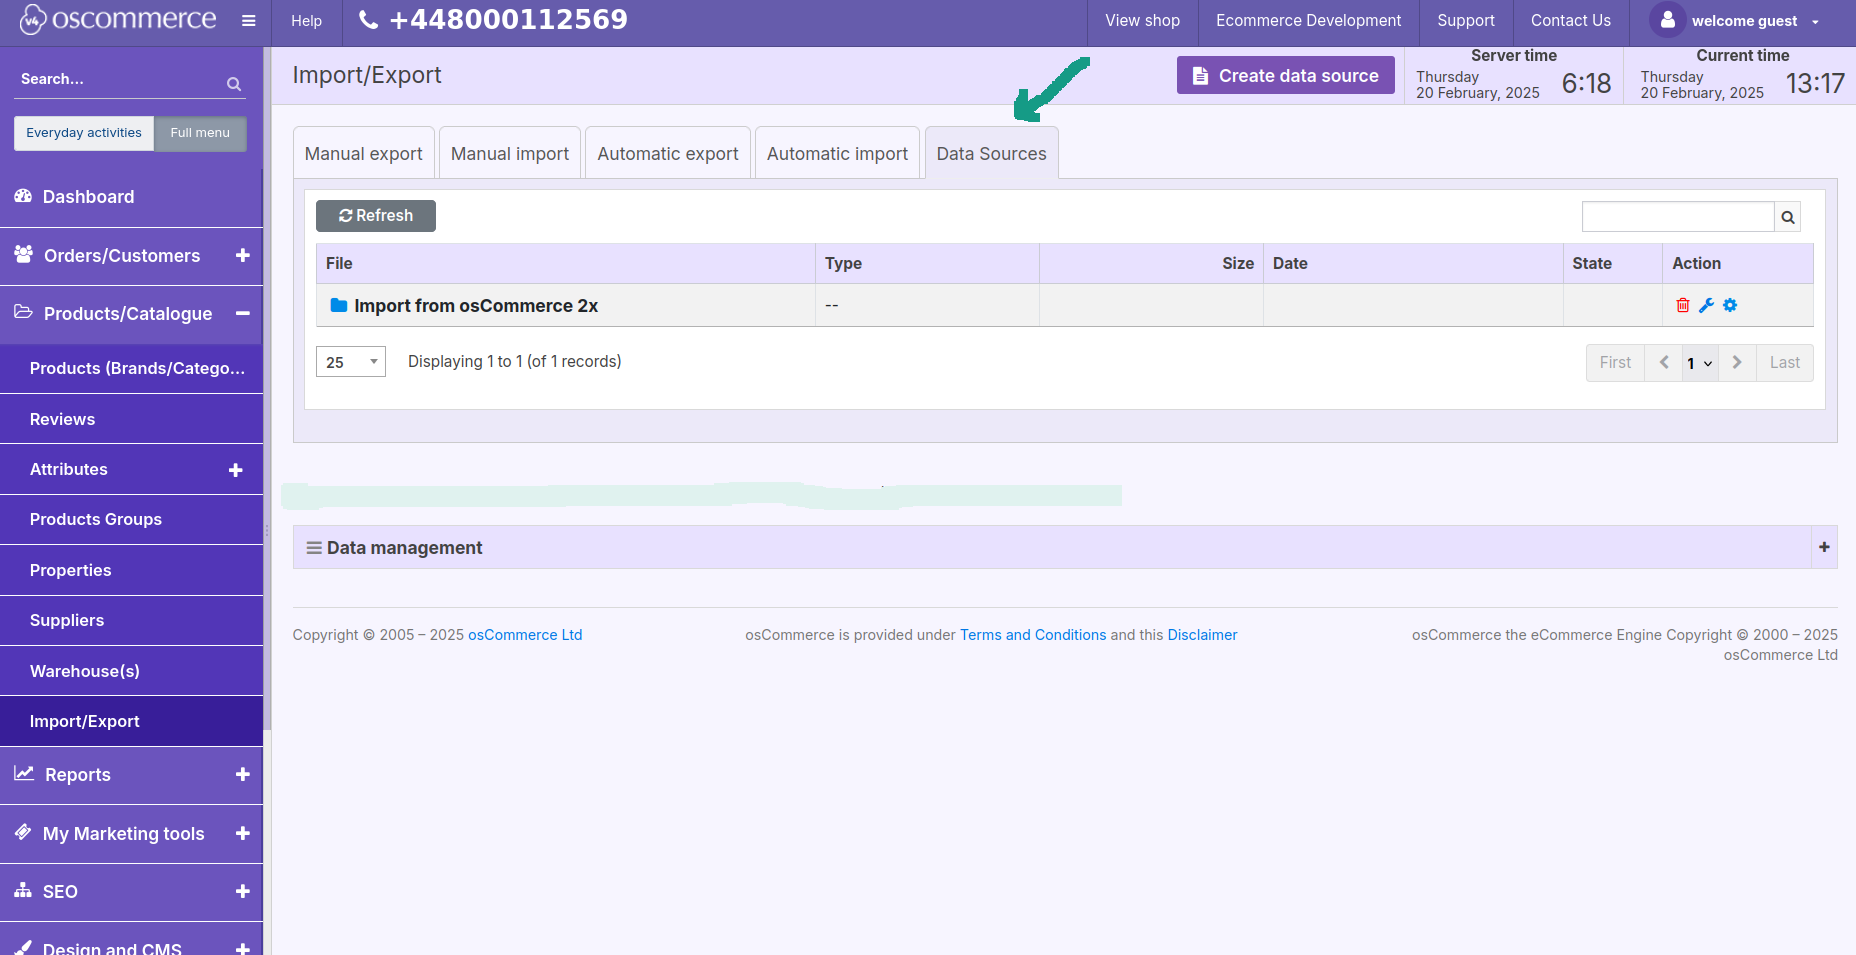
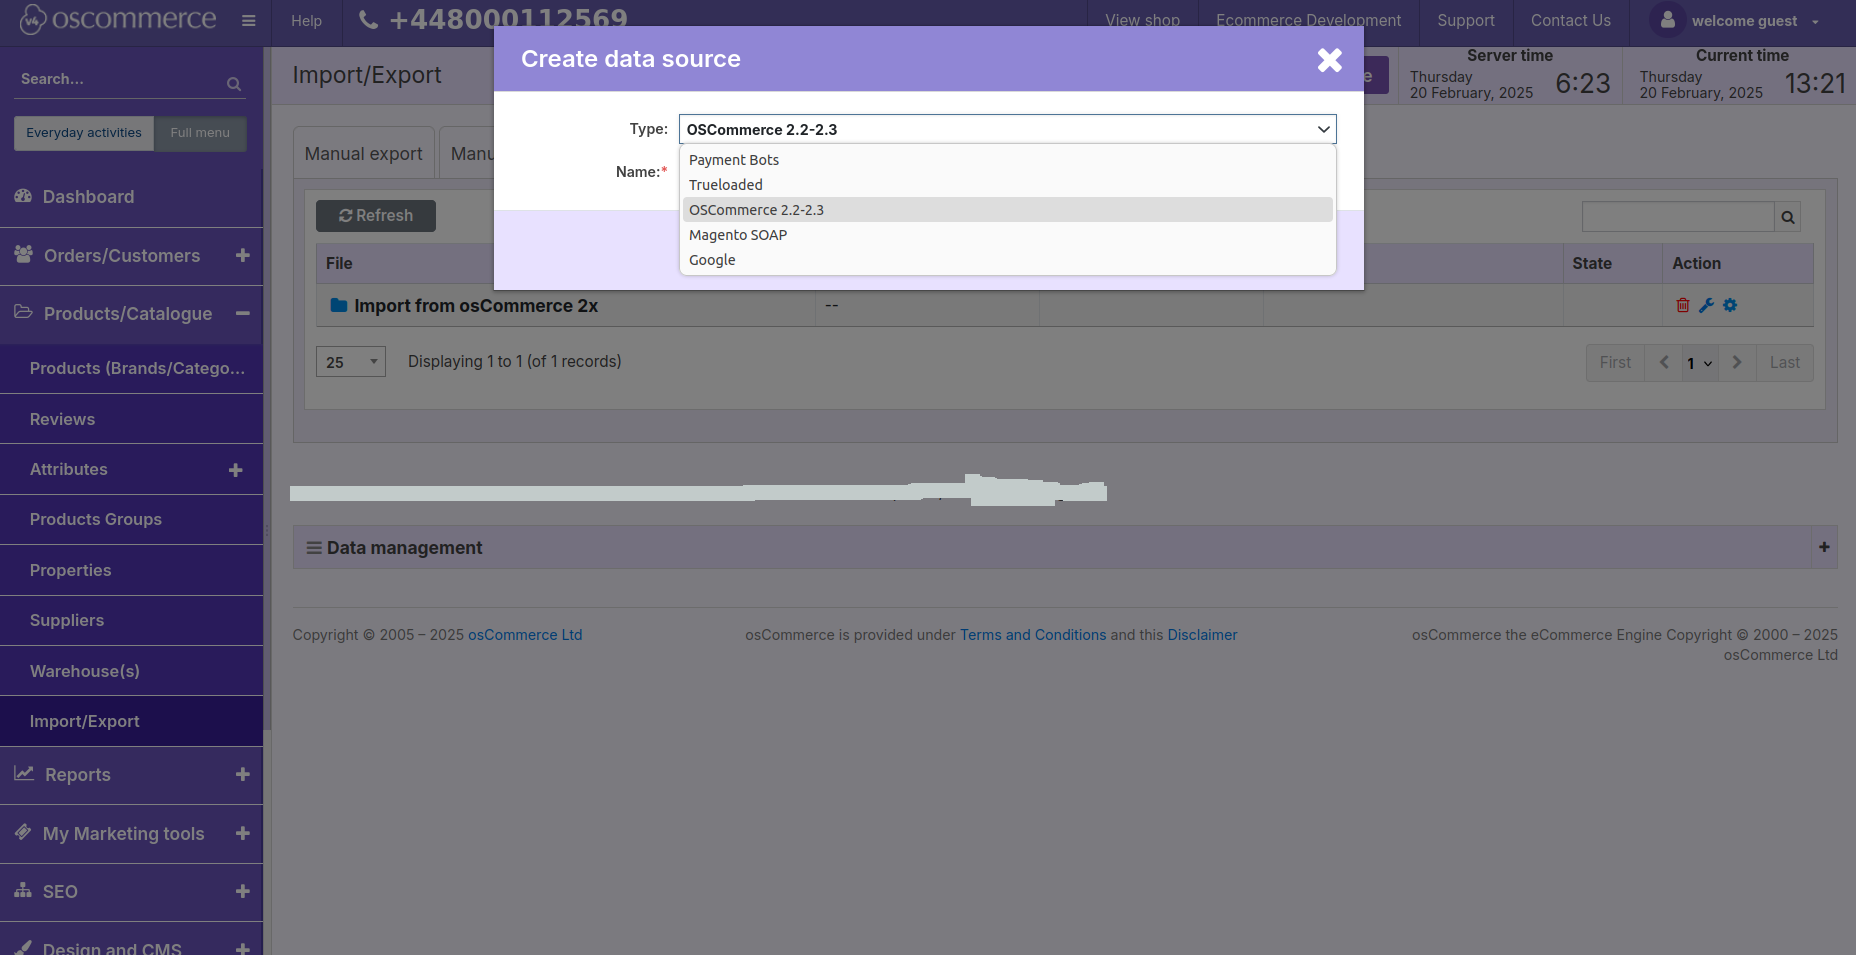
Data Sources are a bit different type of import/export – as a rule they are custom made for the specific API. They are used either to transfer files from one server to another one (it is called edi) or to do something via API or to do the mixed actions. Under Data Sources tab click on Create data source button.
In the pop up window in the type drop down list you can find the currently available data sources.
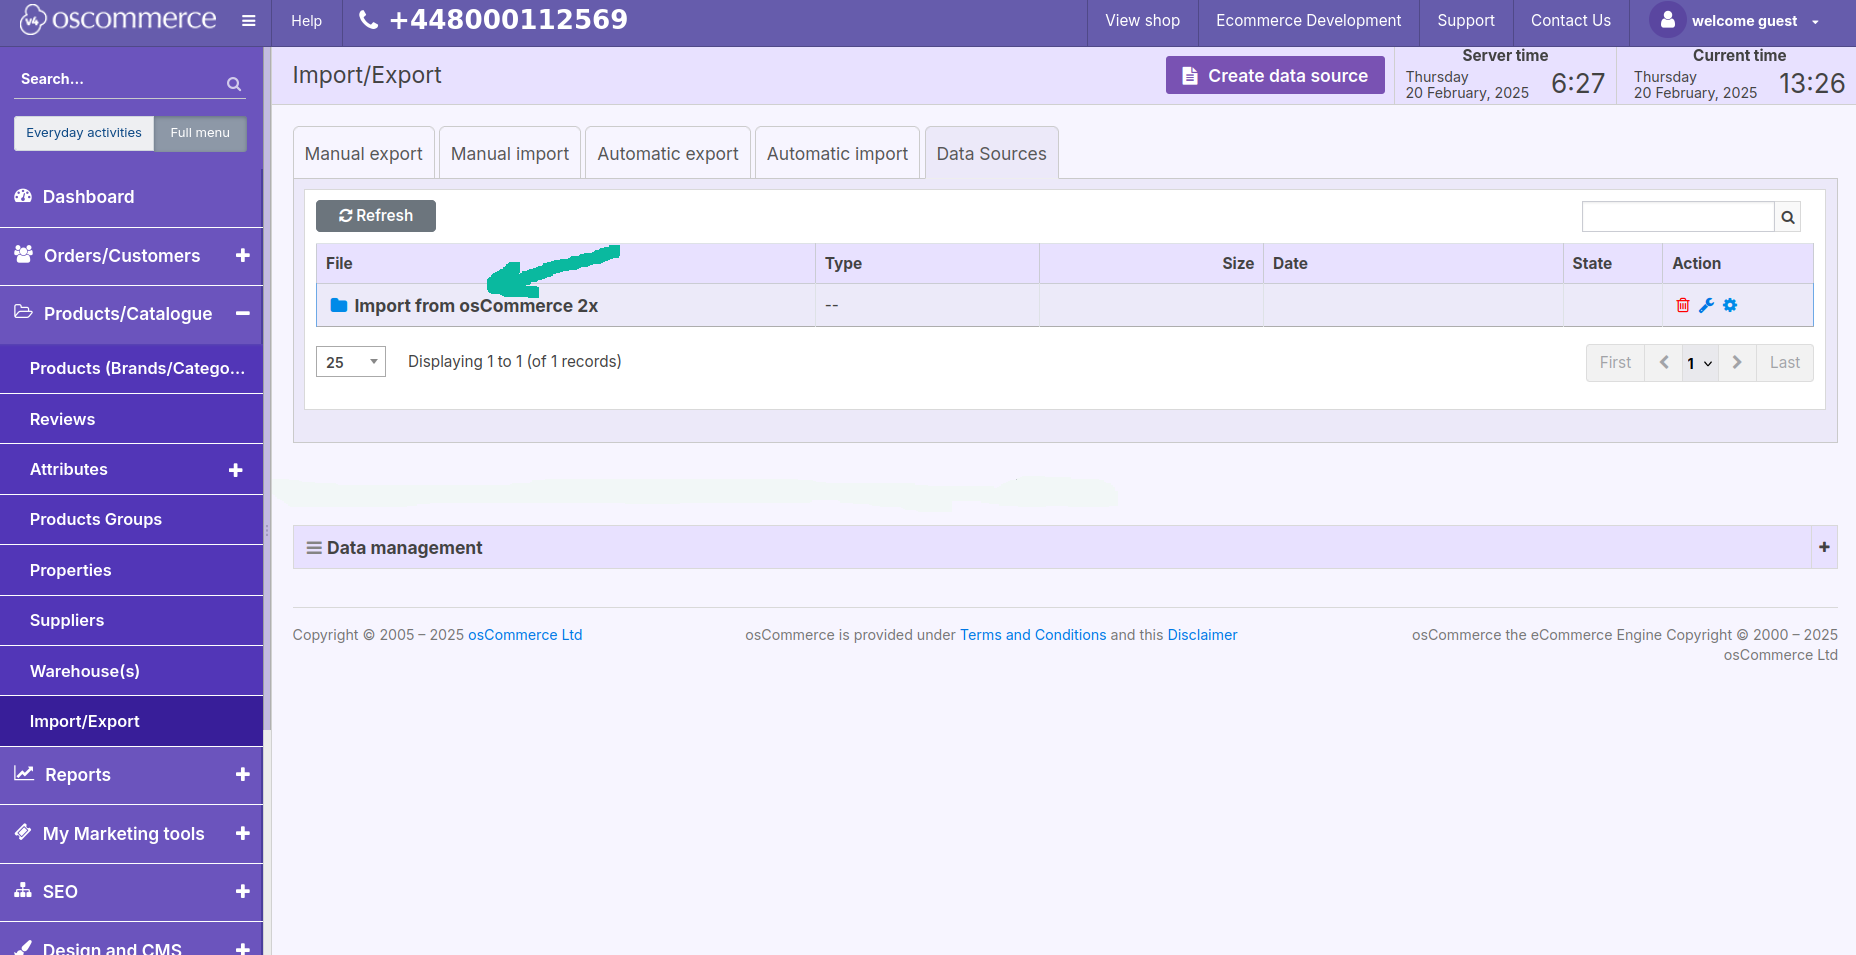
If you make a double click on the Import from osCommerce 2x folder, you can work with the existing data source.
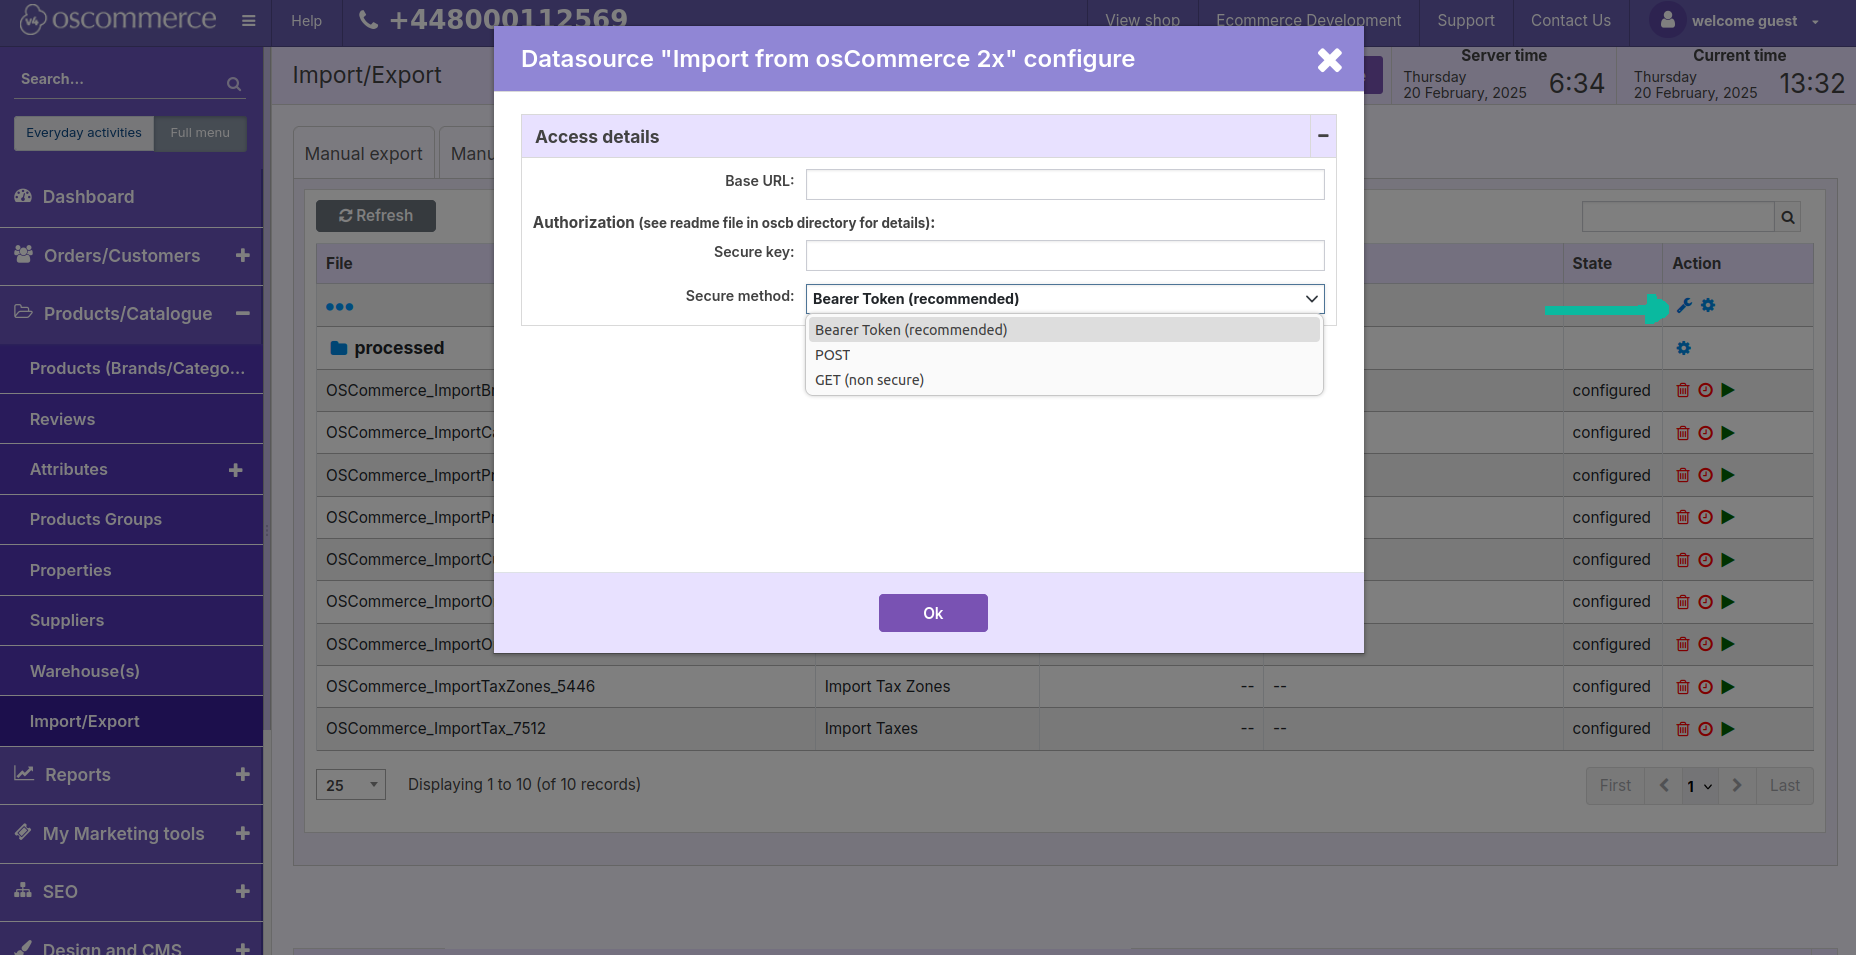
Click on the wrench icon to enter base URL, secure key and choose a required secure method.
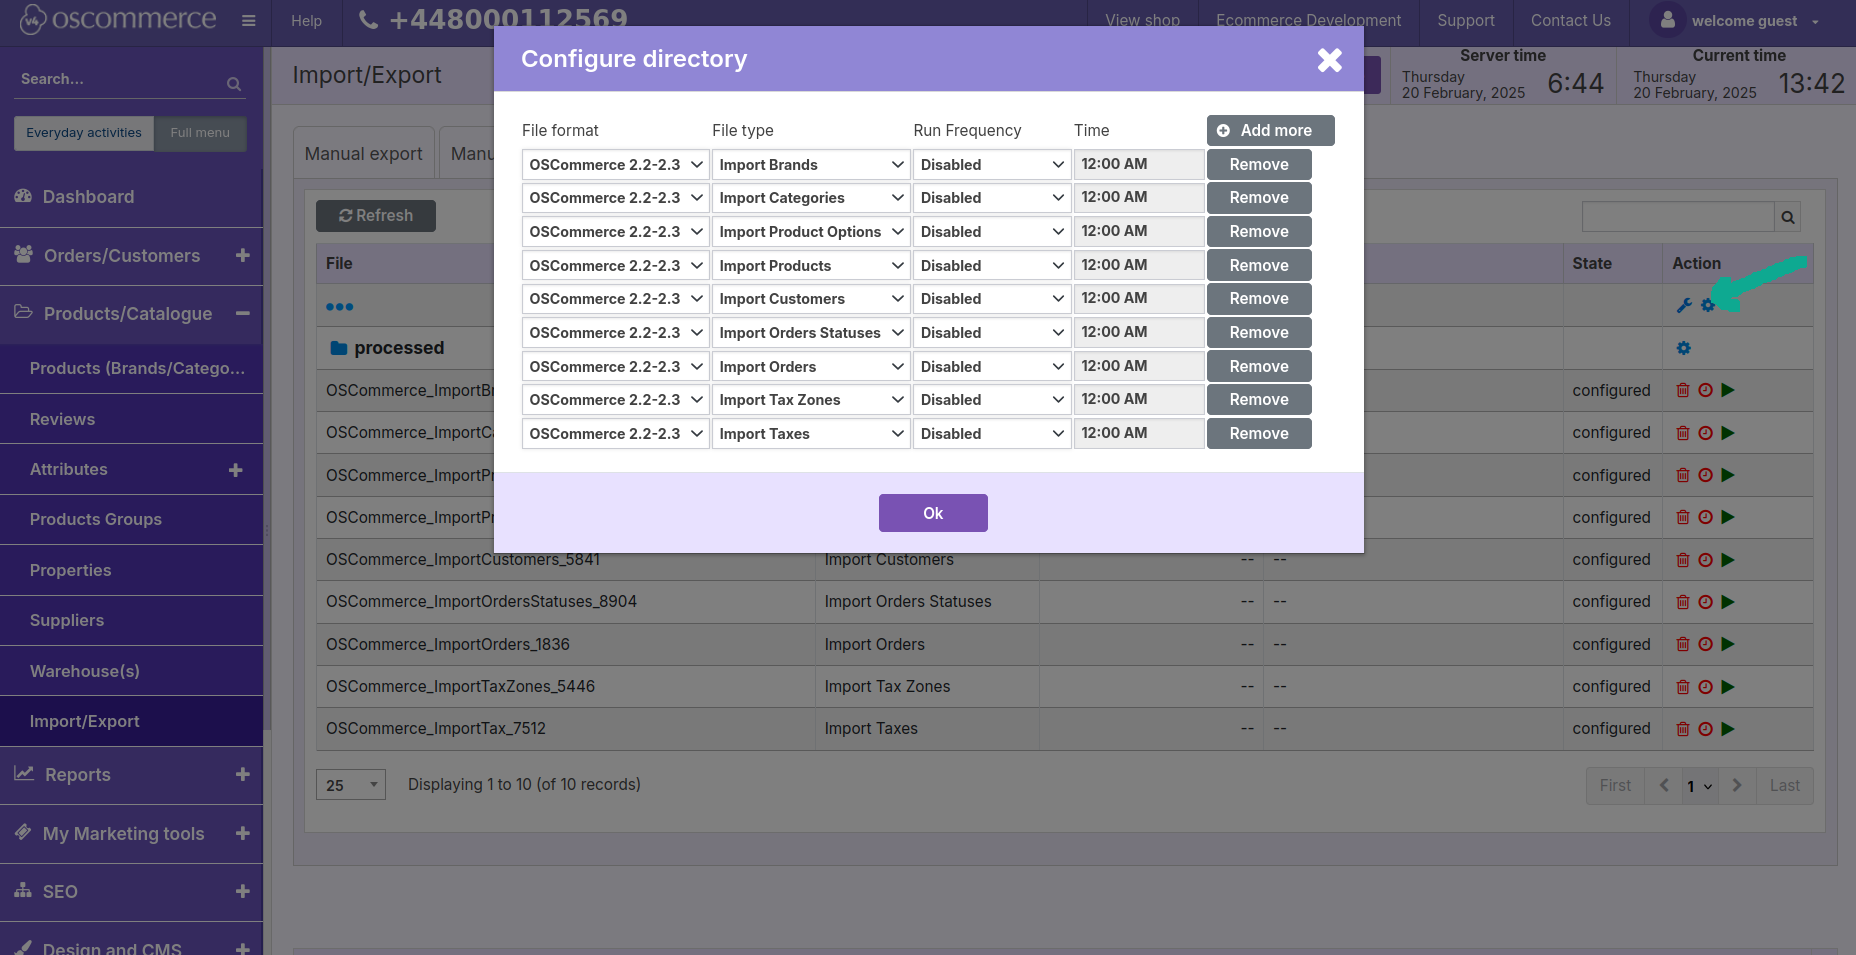
Click on the gearwheel icon (to the right of the wrench icon) to configure data import frequency from the old osCommerce version to the new one.
You can choose import time intervals for frequently-updated content (data), or define the exact time.
Working with data, you can add or remove data fields by clicking on the corresponding buttons.
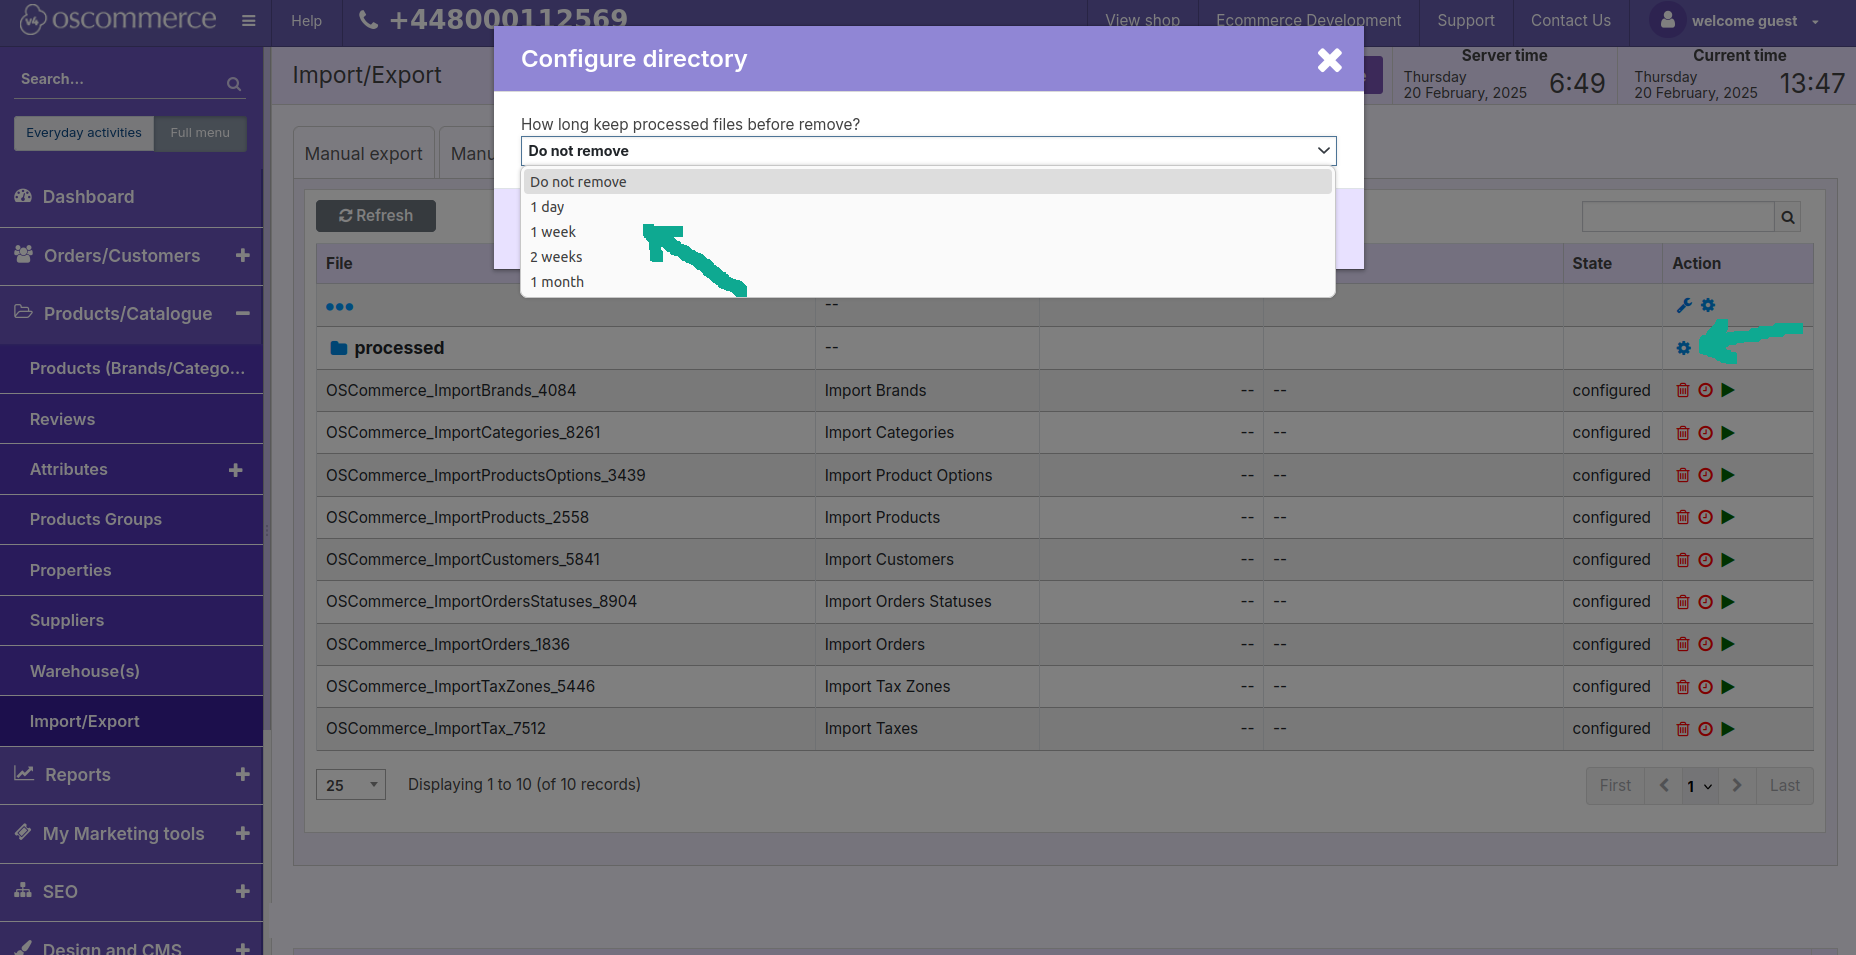
If you click on the gearwheel icon under the wrench icon, you can set the storage period for processed files before removing:
- 1 day
- 1 or 2 weeks
- 1 month
- do not remove
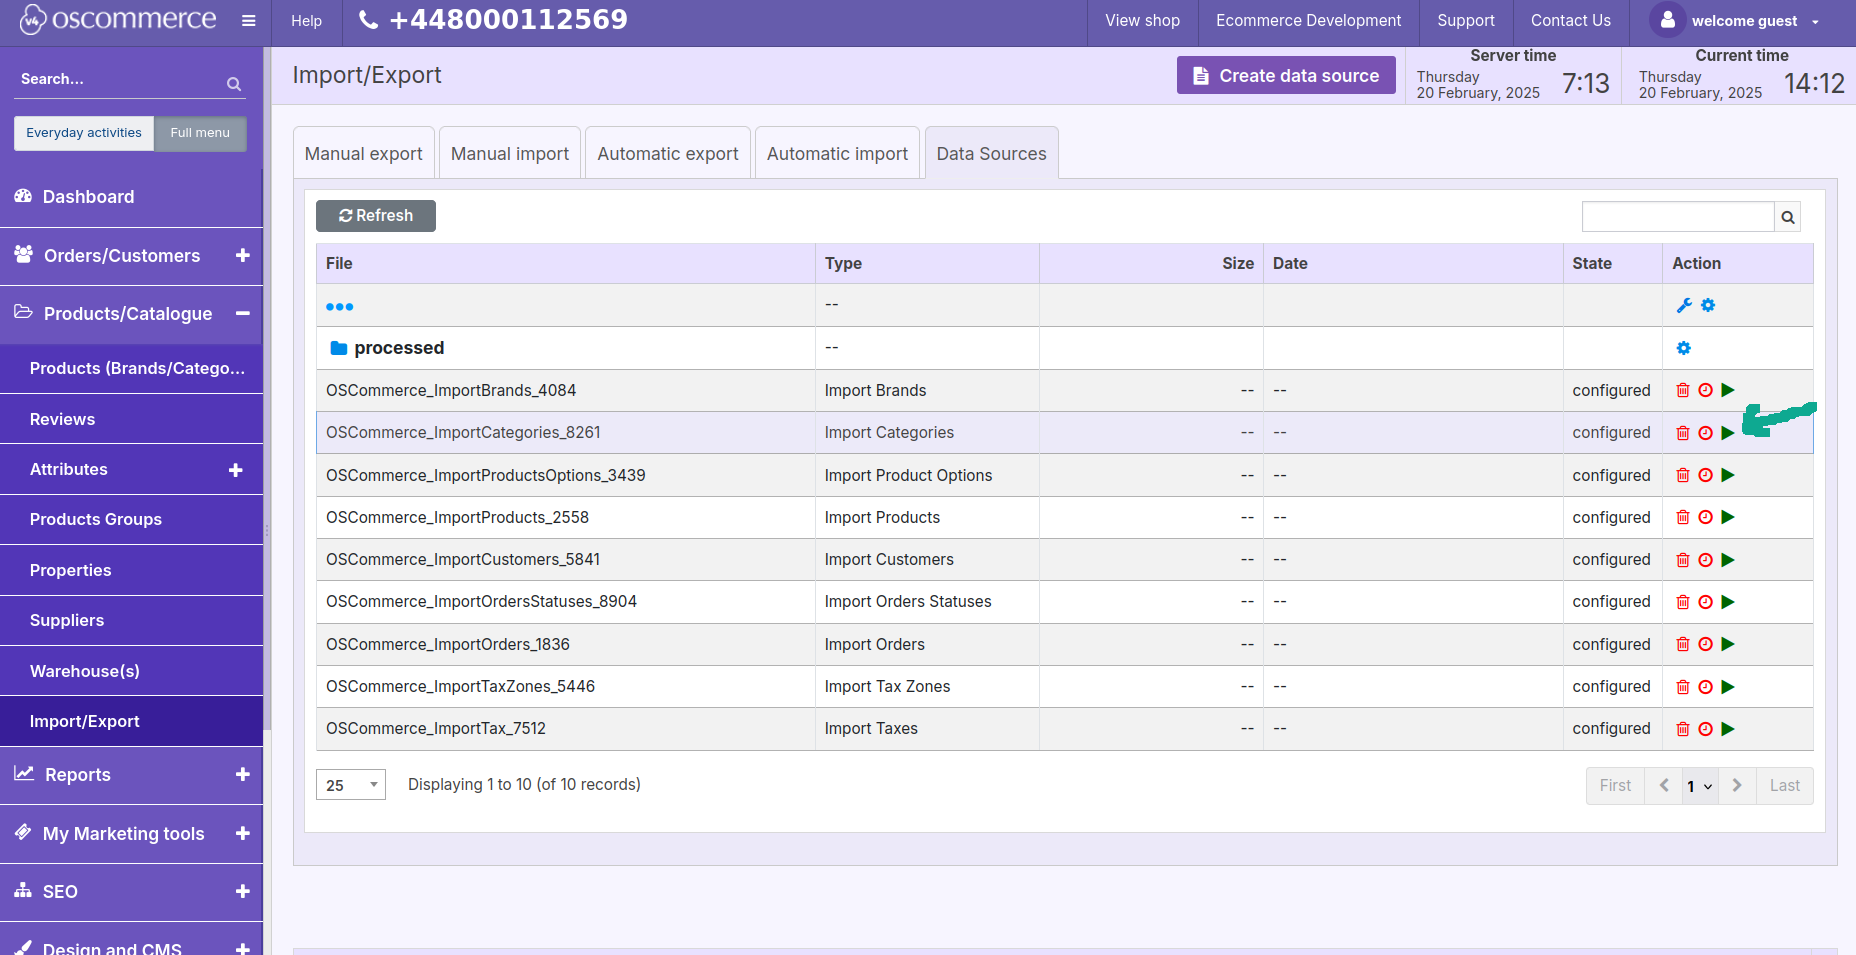
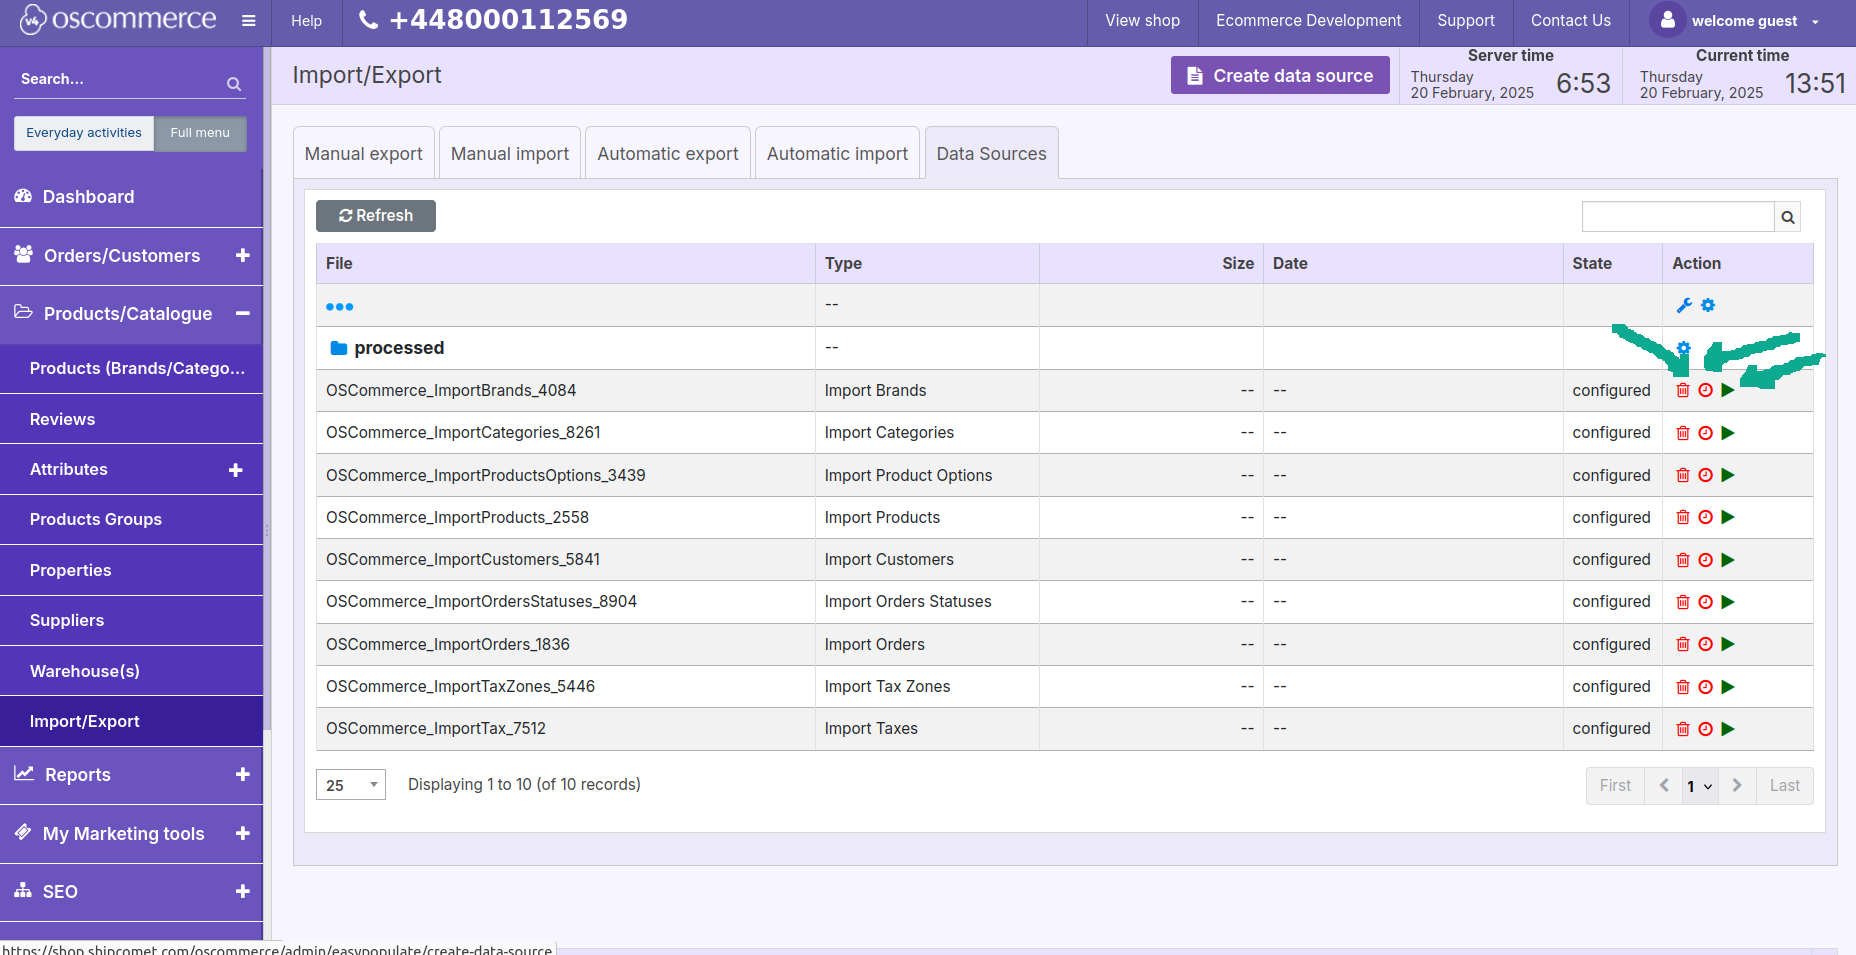
All the processed files can be configured individually, using the action buttons.
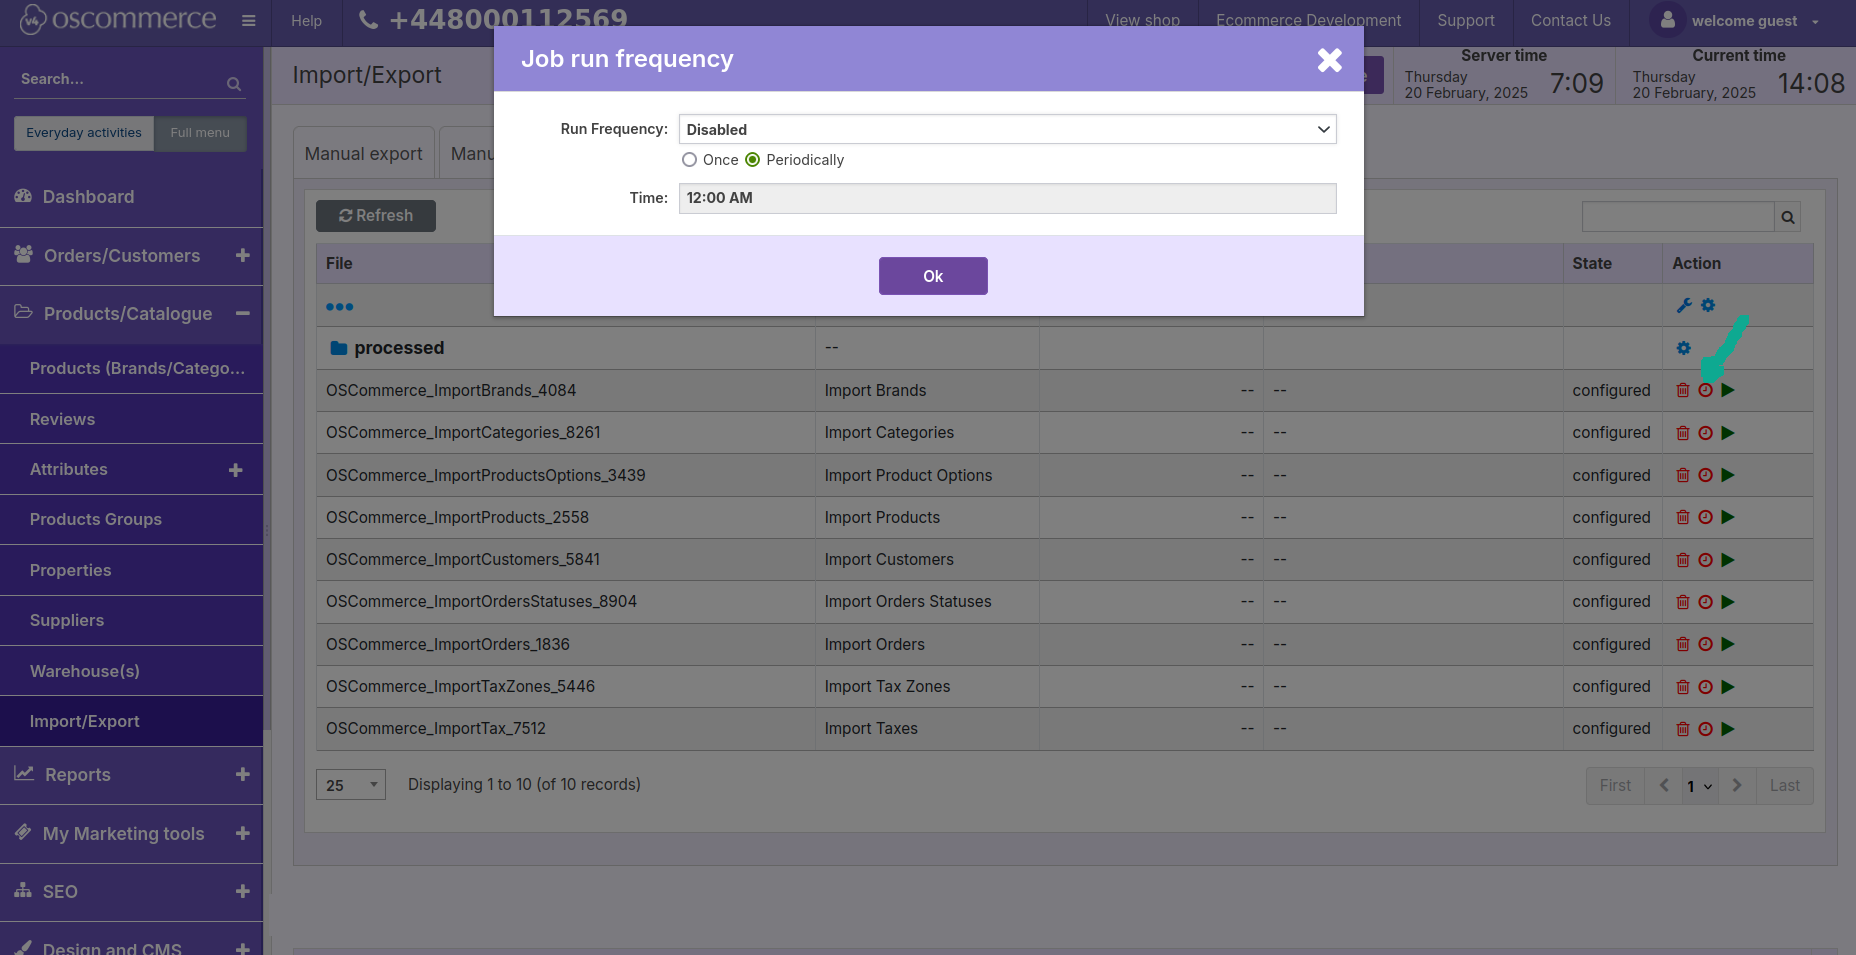
If you click on the clock icon, you can individually configure data import frequency by choosing import time intervals (once or periodically), defining the exact time or leaving it disabled.
To apply the processed files to the website immediately, click on the green triangle icon.