After you accessed the admin area of your website, click on the My Marketing tools and Banner manager tabs.
You can add a new banner or edit, copy and delete the existing ones by clicking on the corresponding buttons.
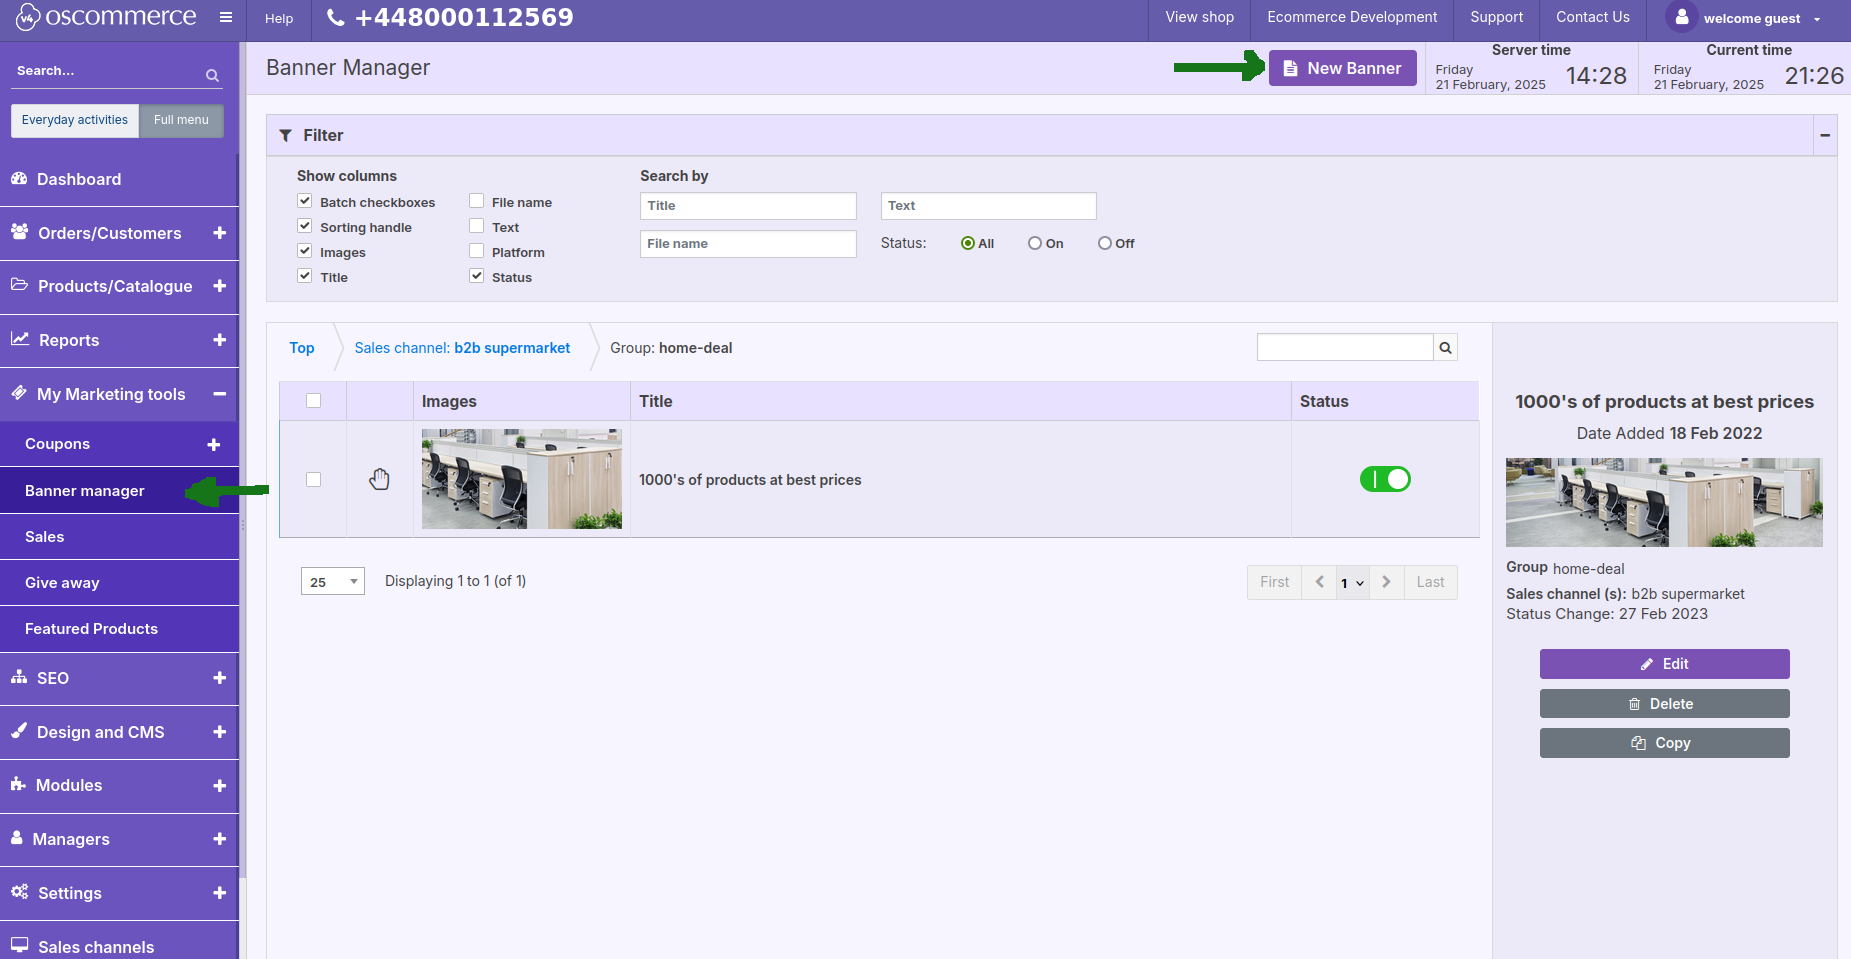
When searching among the existing banners, it is possible to search by sale channel and by banner group.
Banners data is presented as a table containing the following columns:
Banners – displays banners’ name
Groups – displays groups’ name to which a banner(s) is assigned
Sales channel name – informs about a sales channel that uses this banner(s)
Status – shows banner status (can be set active/inactive using the toggle).
To search for the required information, the quick search field is available above the Banners table.
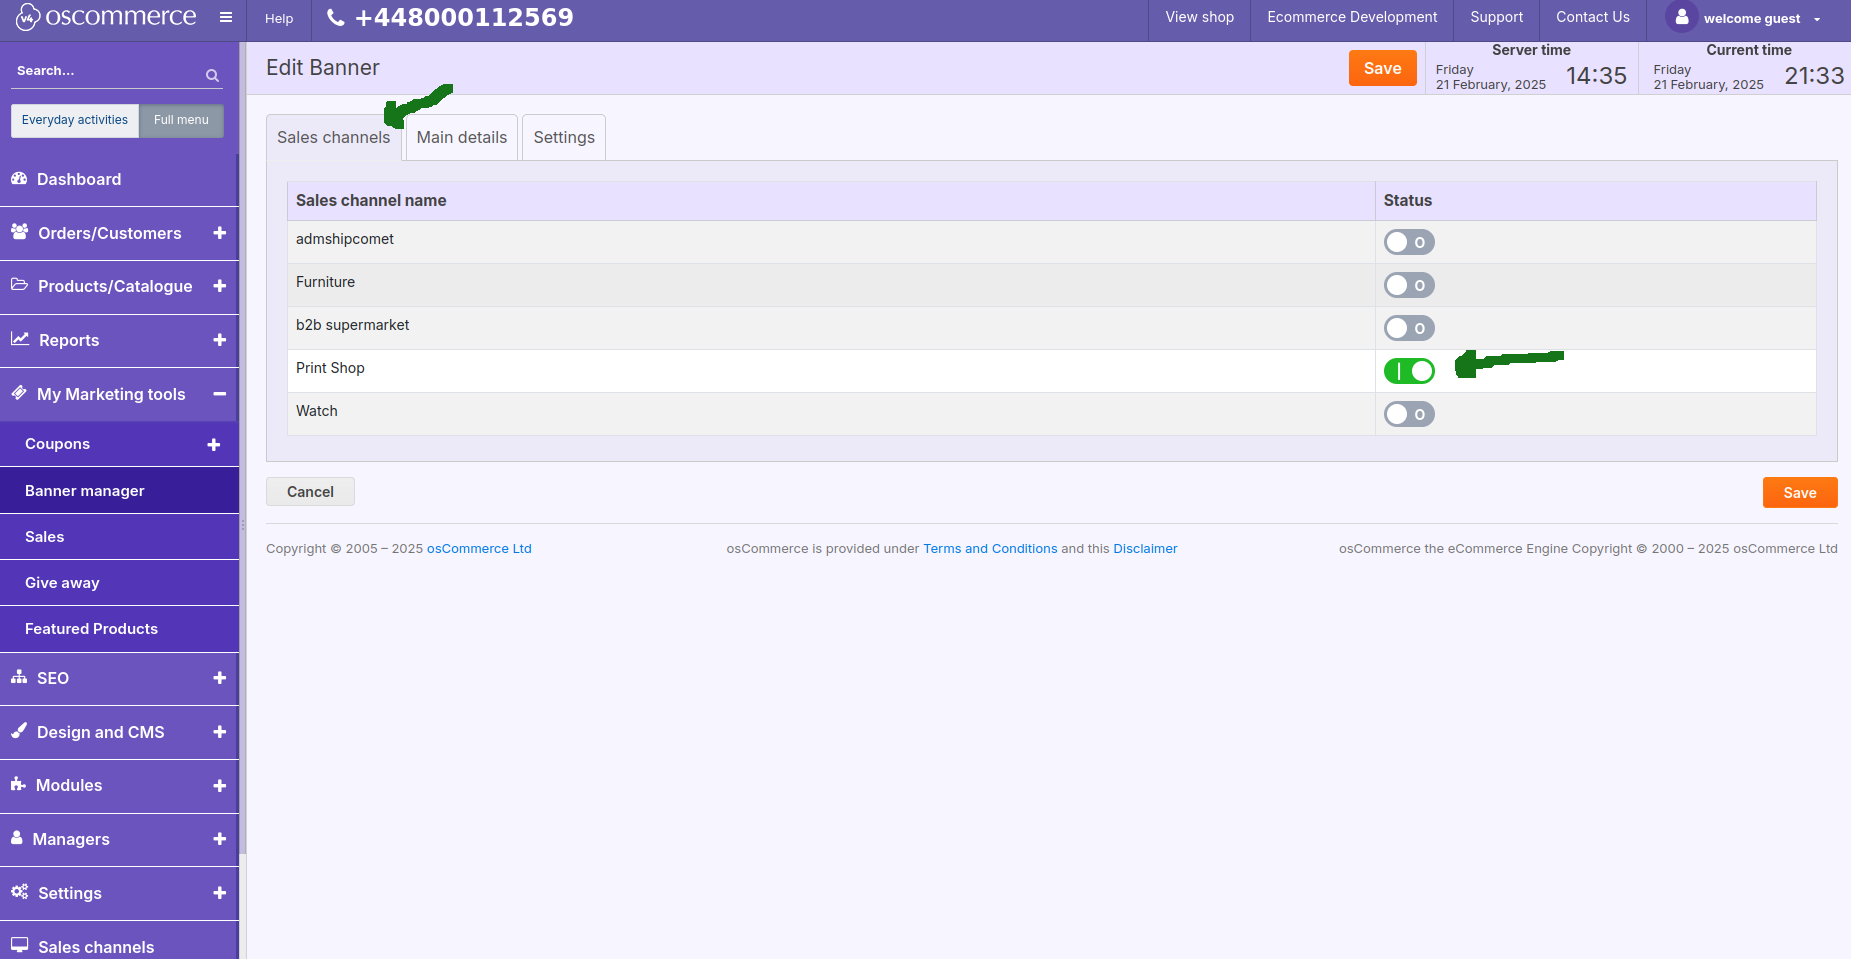
While adding a new banner or editing the existing one, you can link it to sales channels under Sales channels tab.
Under Main details tab it is possible to:
- set banner group
- set sort order
- set start date (Scheduled At)
- set end date (Expires on)
- set “nofollow” on banner link (for SEO)
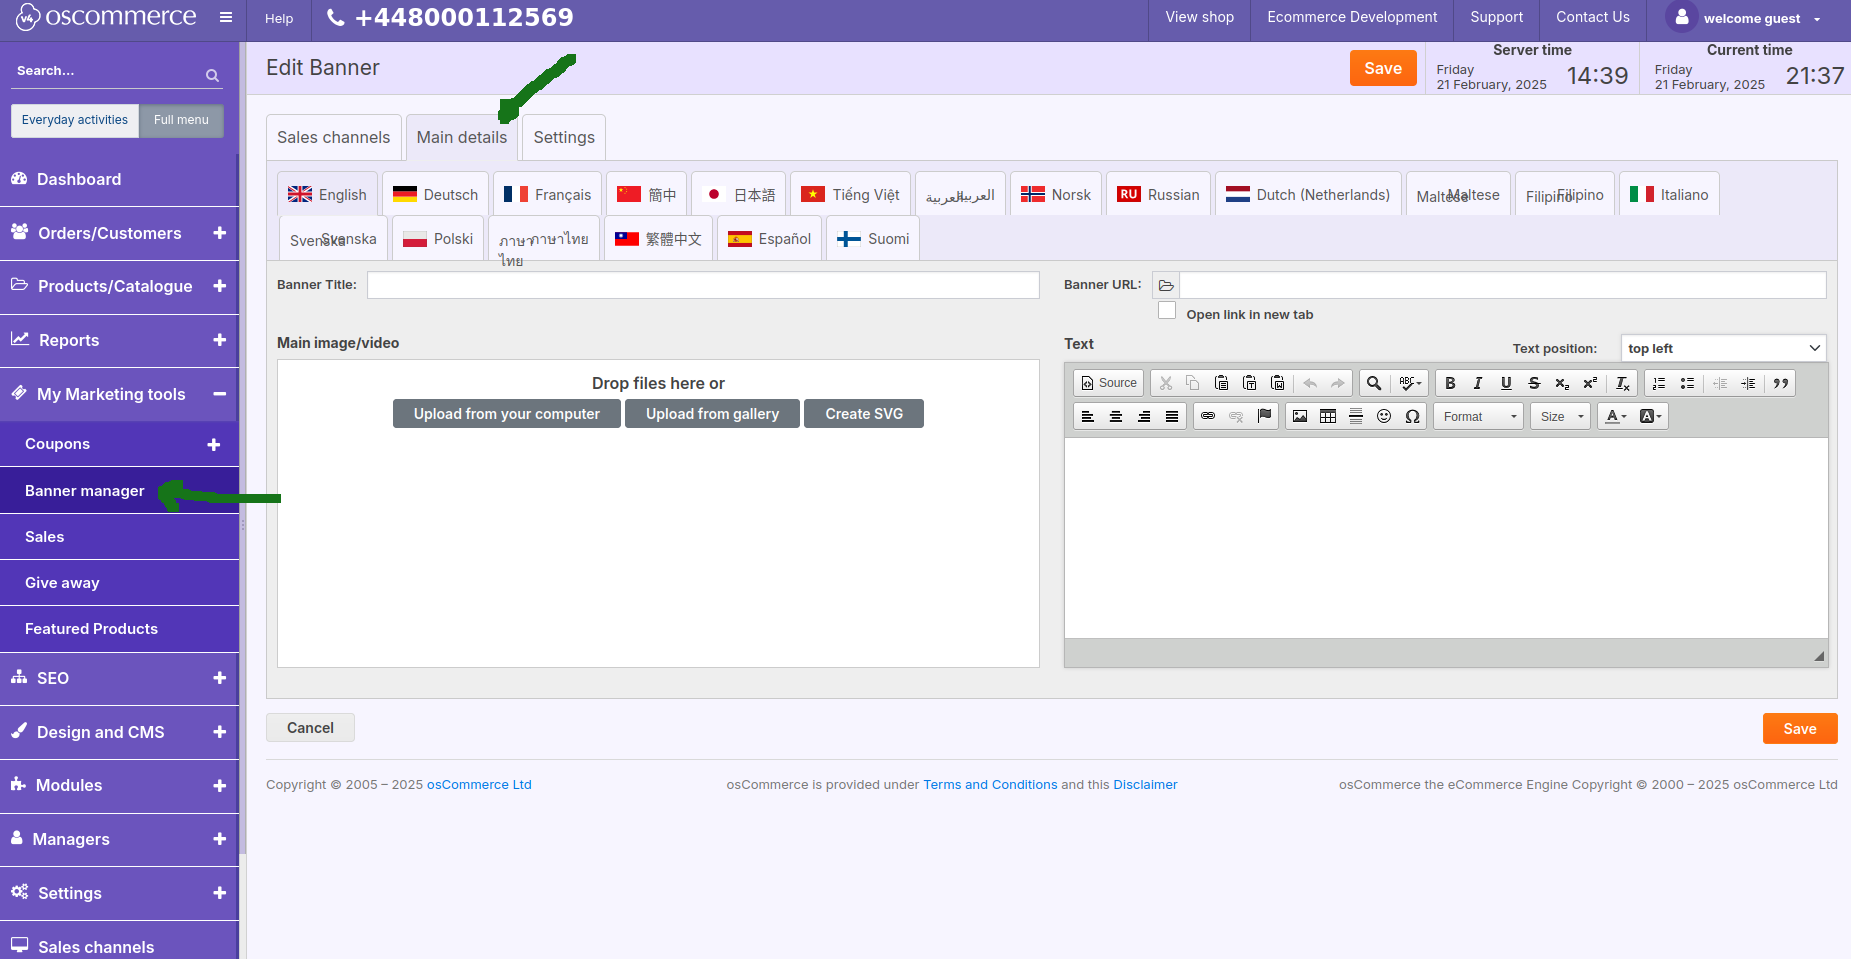
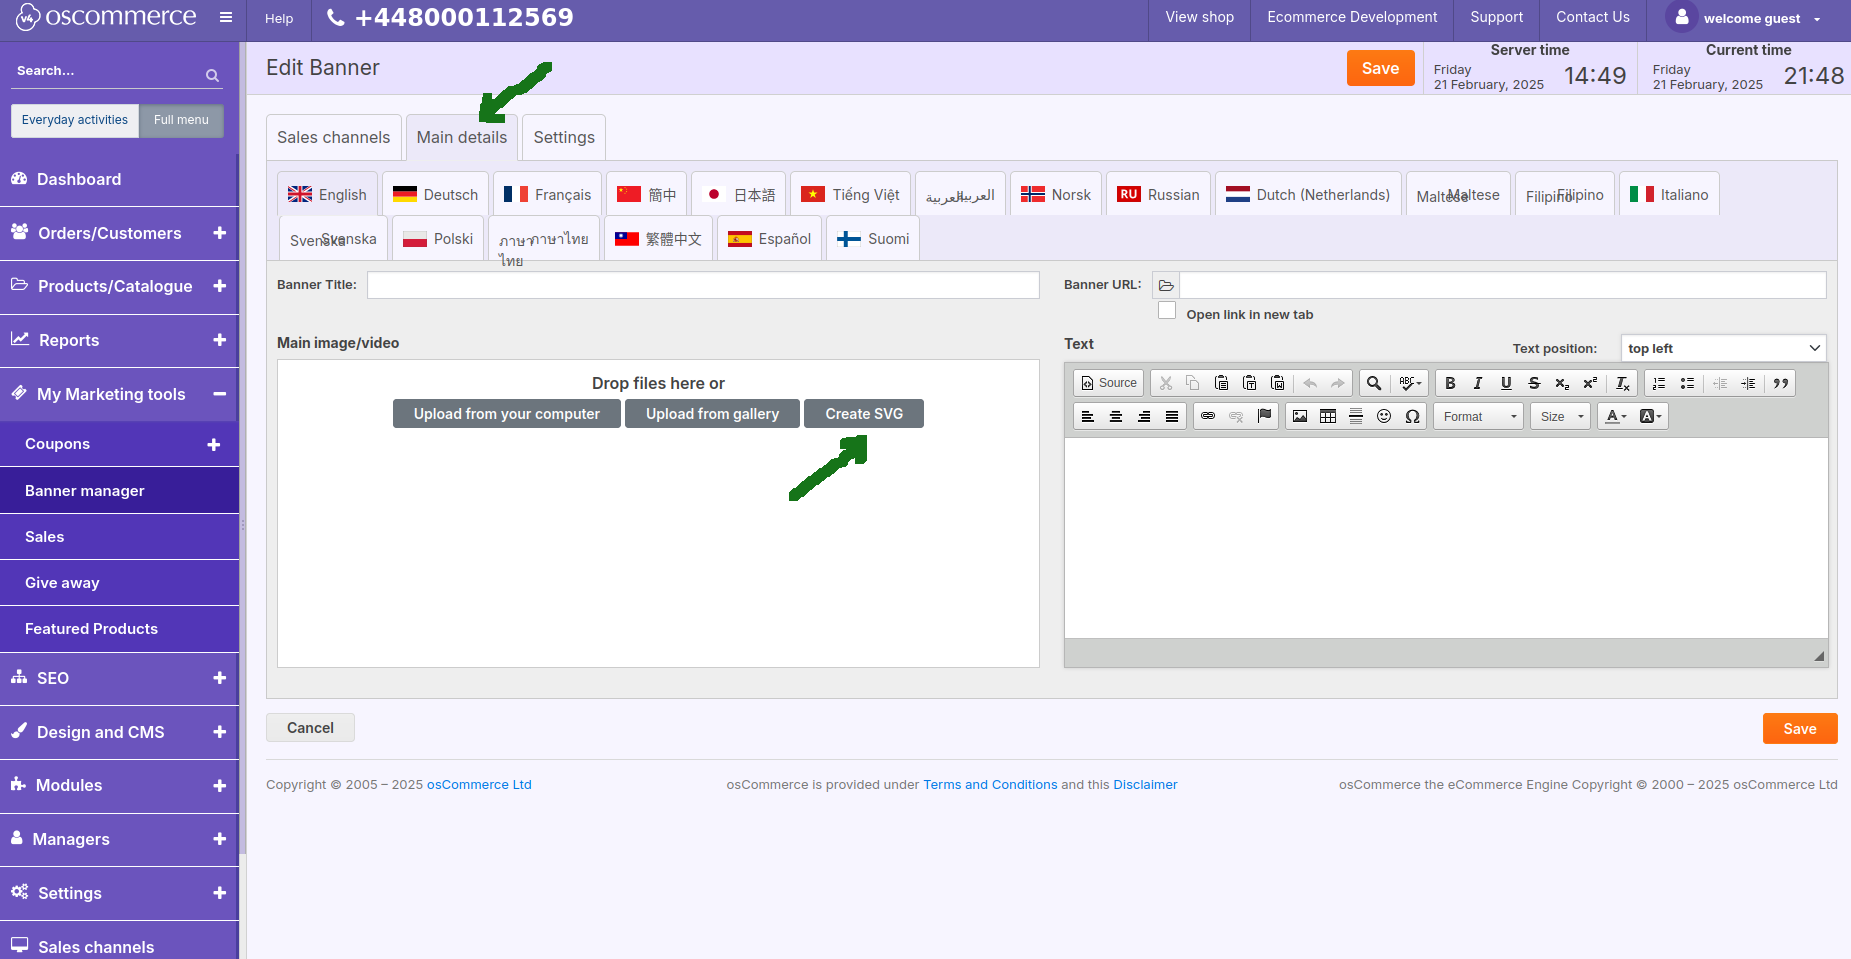
If you move to Name and description tab, you can use its tools to:
- set banner title
- set banner URL (enter custom link, or choose from site pages, products, categories, brands, common links)
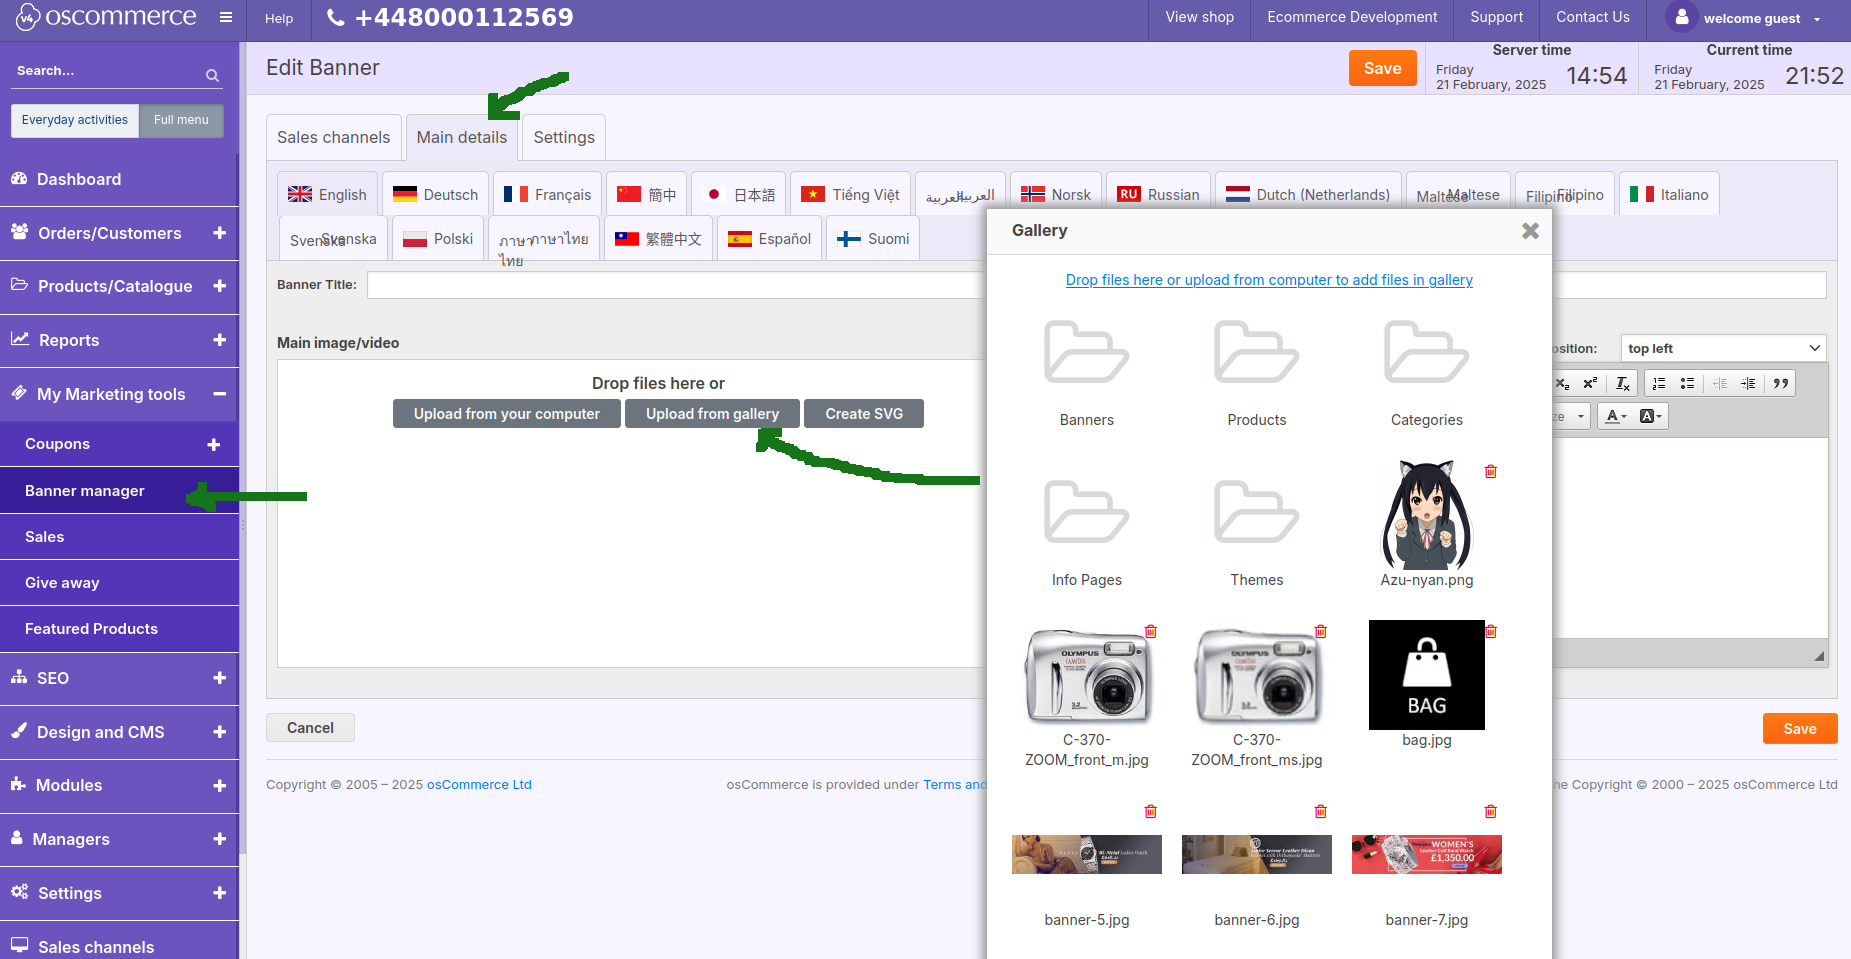
- upload an image
- enter HTML content text
You can also choose banner type: Image, HTML text, Text and Image (combines HTML and image with possibility to choose text position over the image).
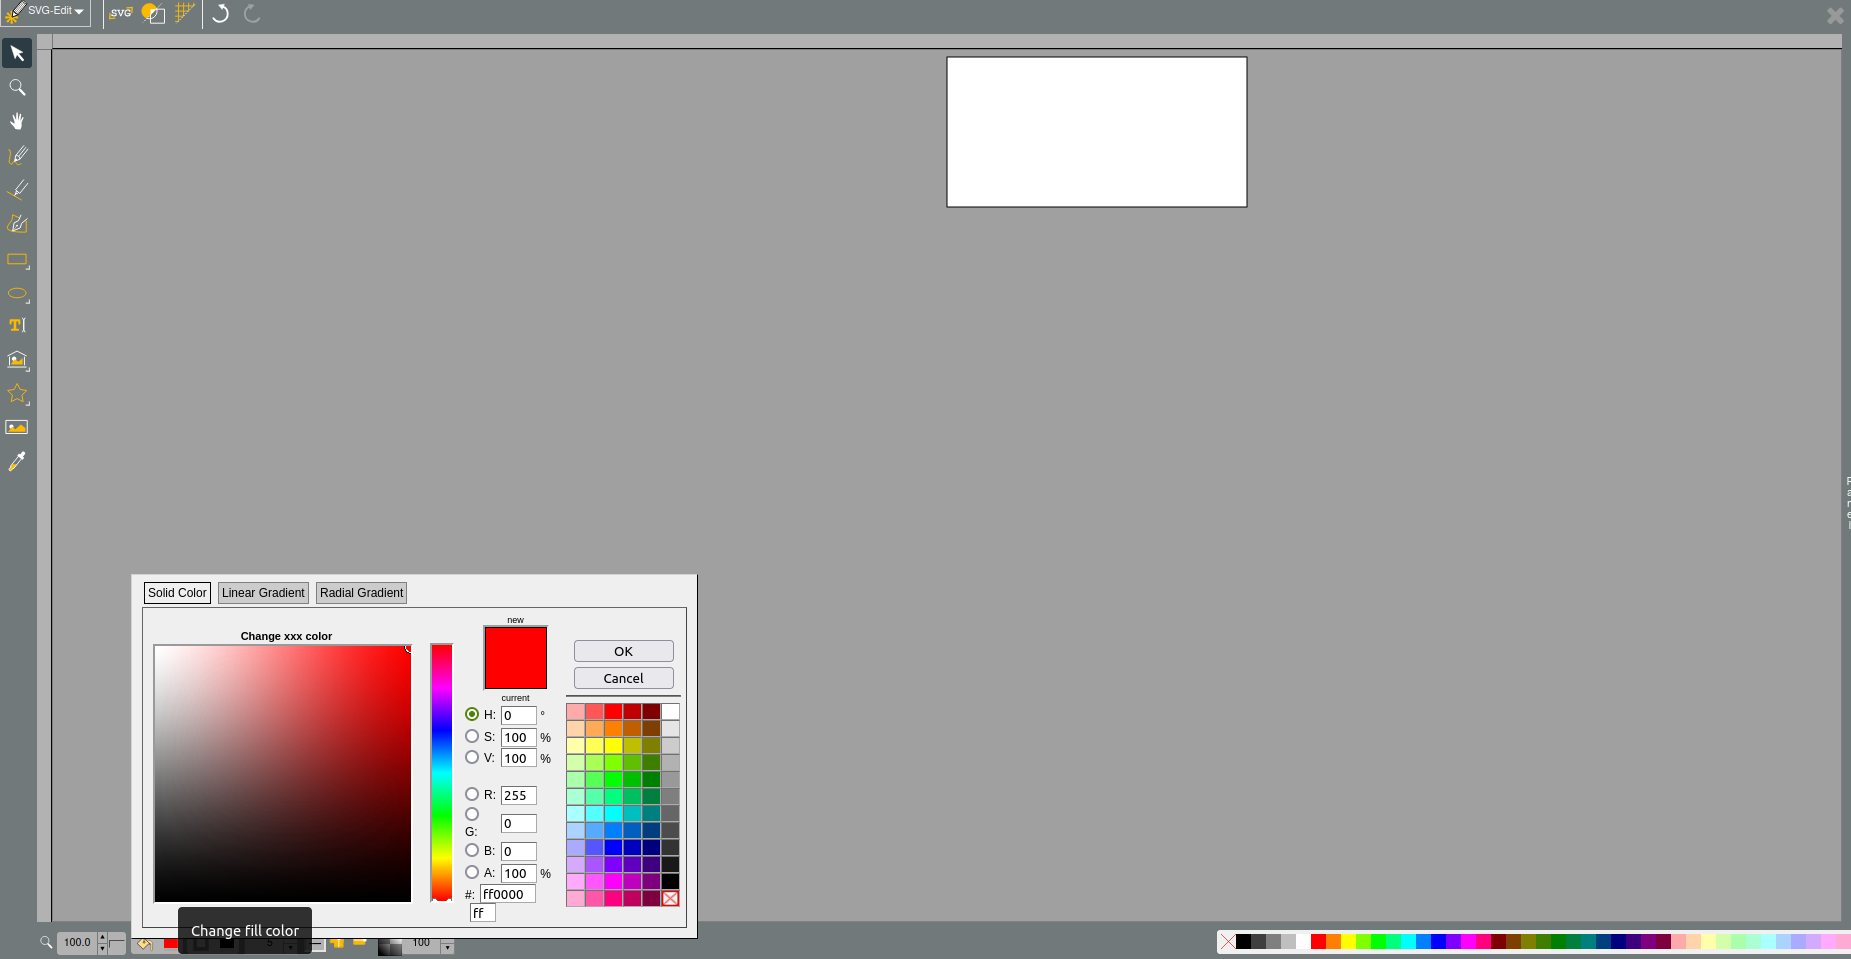
Working with SVG type – use built-in SVG editor.
Upload videos for video type banners.